Biblioteca Chinoppo
Today, to watch a movie, you open Network on the Chinoppo and browse to the folder on your NAS. With this guide, a wall of movie posters appears when you switch it on, like on R_volution players: pick one with the remote and the movie starts. No programming and no command line needed.
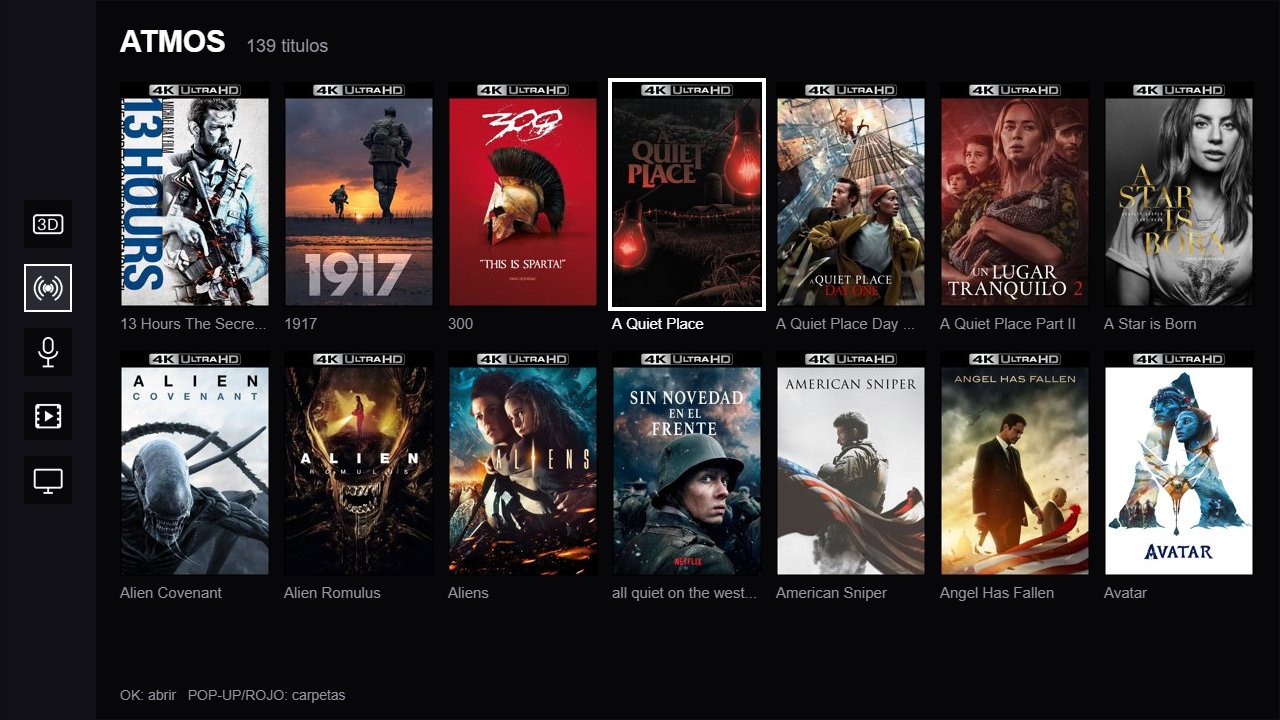
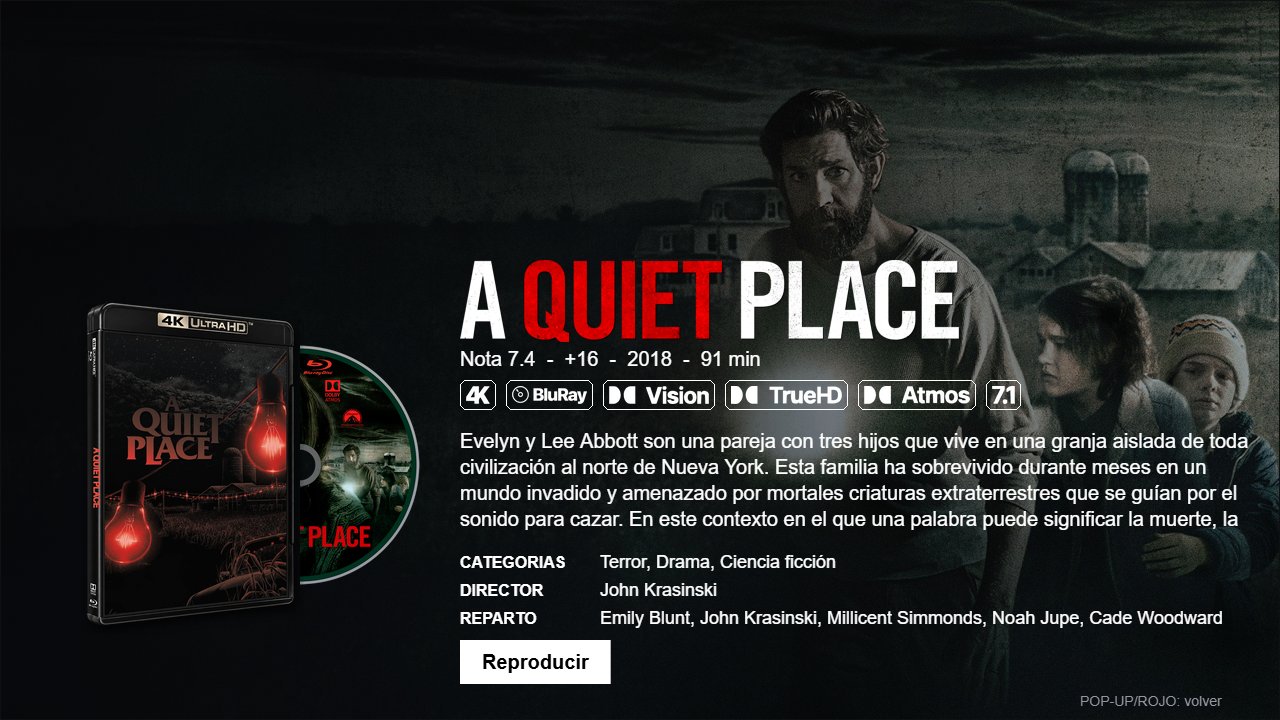
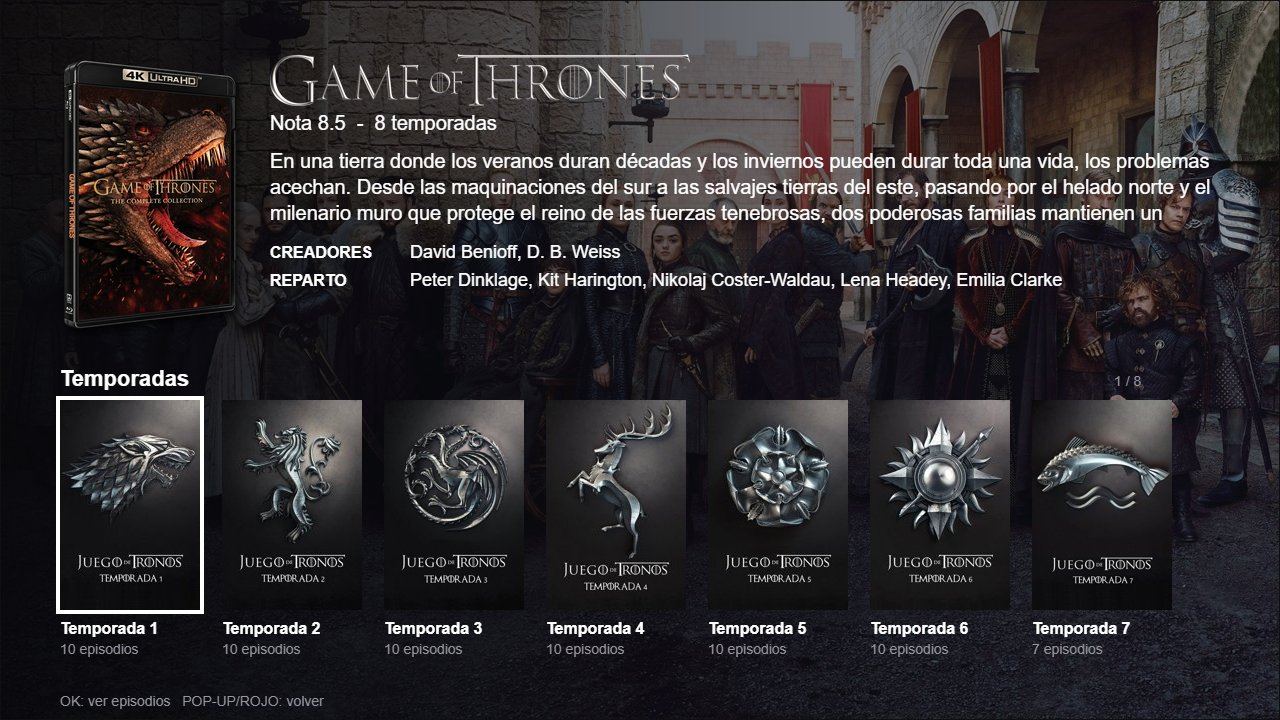
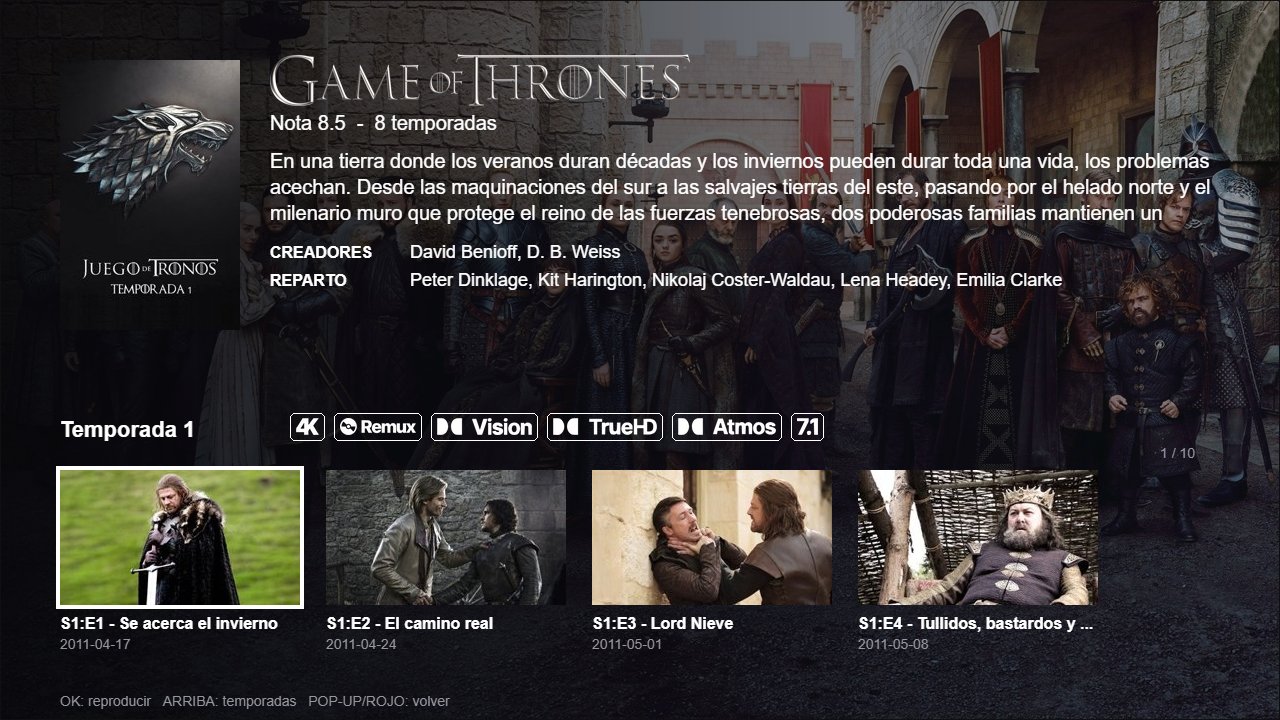
How it works
The Chinoppo can play Blu-ray discs that carry a small program and can use the internet (BD-Live). The Biblioteca (“library”) is one of those discs, but it lives as a file on a USB stick. When it opens, it asks a small program you will install on your NAS for the posters. When you pick a movie, that program tells the Chinoppo to play it from your usual folder.
Your movies are never moved or changed. The program only reads them.
What you need
| What | Details | |
|---|---|---|
| Chinoppo M9201 | With the jailbroken firmware RU 20XRU-65-0131. It is what lets the Biblioteca open by itself at power-on. | Required |
| NAS | The one you already use with the Chinoppo, with NFS and an app to run Docker. For example: Container Manager on Synology, Container Station on QNAP, Docker on Unraid, Apps on TrueNAS or Portainer on Asustor. If your NAS has none, see “Advanced”. | Required |
| USB stick | Any stick of 1 GB or more, formatted FAT32. It stays plugged into the Chinoppo. | Required |
| A PC or laptop | Only to open web pages and copy files to the USB stick. | Required |
| TMDb account | Free. Posters and plots come from there. | Required |
Keep some paper handy; you will write down six things in the first steps:
Steps
The Biblioteca’s own screens and web page are in Spanish. The guide gives each button’s Spanish label with its meaning.
Prepare the Chinoppo and note its IP
On the Chinoppo, with the remote- Go to Setup → Network and set BD-Live Network Access to On. Without it, the disc cannot fetch the posters.
- In the same section, find the network information and write down the IP address (something like
192.168.1.16). - Recommended: in your router, “reserve” that IP for the Chinoppo so it never changes. If you don’t know how, carry on; just remember that if it stops working one day, the IP may have changed.
Get your TMDb key
On the PC, in the browser- Create a free account at themoviedb.org and confirm your email.
- Open your profile → Settings → API and request a key (personal use). Fill in the form with simple answers.
- Copy the API Key (32 letters and numbers) and write it down. Don’t share it.
- For discs and more posters (recommended): TMDb gives the posters and each movie’s information; fanart.tv gives more posters to pick from and the discs. Also create a free account at fanart.tv and copy your Personal API Key from your profile. Without it, Artwork Studio shows no discs to pick and the disc doesn’t slide out of the case. Write it down next to the TMDb one.
Note your NAS details
On the Chinoppo and in your NAS admin page- NAS IP: the address you use to open its admin page in the browser (for example
192.168.1.17). Write it down. - The folder, as the Chinoppo sees it: on the Chinoppo open Network → NFS and choose your NAS. Write down the shared folder shown there, the top-level one, for example
/volume1/Plexor/share/Movies. Keep upper and lower case exactly. If your movies are deeper inside (likePlex/Library/Movies), that’s fine: you pick those subfolders later, in step 7. - The same folder, as the NAS sees it: almost always the same as above. If unsure, look it up in the NAS file manager. Common examples:
NAS Path of a folder called “Plex” Synology /volume1/PlexQNAP /share/PlexUnraid /mnt/user/PlexTrueNAS /mnt/YourPoolName/Plex
Don’t see your NAS under Network → NFS? You are using SMB/Samba today, and the Biblioteca needs NFS. In your NAS settings, turn on the NFS service and give that folder access for the Chinoppo’s IP (read access is enough). If it asks about “squash”, map all users to admin. If there is an option for “non-privileged ports”, tick it. Then check the Chinoppo again.
- NAS IP: the address you use to open its admin page in the browser (for example
Install the Docker app on the NAS
In your NAS admin page- Install your NAS’s Docker app from its app store: Container Manager (Synology), Container Station (QNAP), Portainer (Asustor and others). Unraid and TrueNAS have it built in.
- Inside it, find the option to create an application from a docker-compose file. Depending on the brand it is called Project (Synology), Application (QNAP), Stack (Portainer) or Compose.
Download the program and put it on the NAS
On the PC- Open github.com/ophielsamael/biblioteca-chinoppo-public, click the green Code button, then Download ZIP.
- With the NAS file manager, upload the ZIP to a folder for your apps (Synology creates one called
dockerautomatically). - Extract it right there (right-click → Extract → Extract here), without creating another folder first. You get a folder
biblioteca-chinoppo-public-mainwith everything inside, including thecompose.yamlfile.
Create the application with your details
In the NAS Docker app- Create a new project or stack called
bibliotecaand point it at thebiblioteca-chinoppo-public-mainfolder. If your app can’t pick a folder, paste the contents ofcompose.yamlinto the editor it shows. - In the
compose.yamltext, change only the lines ending in<--, using what you wrote down:
Keep the quotes.TMDB_API_KEY: "your TMDb key" CHINOPPO_IP: "Chinoppo IP" NFS_SERVER: "NAS IP" NFS_FOLDER: "volume1/Plex" ← folder as the Chinoppo sees it, WITHOUT the leading / TZ: "Europe/London" ← your time zone: Europe/Rome, America/New_York… ... - /volume1/Plex:/media/Plex:ro ← folder as the NAS sees it; keep :/media/Plex:ro as is ... FANART_API_KEY: "your fanart.tv key" ← further down, in the artwork part: for the discs - Save and start (on Synology: Next until Done). The first time it takes a while: 10 to 30 minutes, depending on your NAS. It builds two programs, and the slow one is Artwork Studio (the build window shows
npm ciandnpm run buildfor quite some time). Yellow warnings sayingdeprecatedare normal, not errors. Don't close or cancel; when it says running, continue.
If you got something wrong: stop the application, fix
compose.yamlin your Docker app’s editor and start it again.- Create a new project or stack called
Choose your folders on the Biblioteca page
On the PC, in the browser- Open
http://NAS-IP:8095(for examplehttp://192.168.1.17:8095). That page belongs to the program you just installed. - If a yellow warning appears at the top, it tells you which detail is missing or wrong. Fix it as in the box of step 6.
- Under Carpetas del menú (menu folders) there are examples (3D, ATMOS, Conciertos, Movies, Series). Remove the ones you don’t have with Quitar (remove).
- Add your folders: in the form below click Elegir… (choose), browse to your movie folder and click Usar esta carpeta (use this folder). Pick Películas (movies) or Series, an icon, and Guardar (save). Repeat for each section you want in the menu.
- Wait: the first time it fetches posters for your whole collection. With hundreds of movies this can take a while. The Títulos (titles) column keeps growing.
TV shows: organize them as
Show name/Season 01/episode.mkvso they appear by season.- Open
Prepare the USB stick
On the PC- On the same page (
:8095), at the top, click Descargar archivos para la USB (download files for the USB). You getBiblioteca-USB.zip, already set up for your NAS and your Chinoppo. - Unzip it and copy its contents to the root of the USB stick (not inside another folder). It must look like this:
USB/ ├── Biblioteca.iso └── AutoScript/ - Eject the stick safely.
If the IP of the NAS or the Chinoppo ever changes, fix the compose (step 6) and download this ZIP again.
- On the same page (
Plug in and switch on
On the Chinoppo- With the Chinoppo off, plug in the USB stick and leave it there for good.
- Switch it on. The Biblioteca appears by itself 20 to 40 seconds later.
- If you go back to the home menu, the Disc icon opens it again.
Done. Pick a movie with the arrows and OK. The first movie of each folder takes about 40 seconds to start; the next ones, much less.
ArrowsMove around the wallOKDetails / playRed / POP-UPGo backColoursSwitch sectionRETURN, TOP MENU and INFO don’t work inside the Biblioteca: the Chinoppo keeps them for itself.
Updating to a new version
- On your PC, delete the old ZIP from Downloads and get the new one from GitHub (Code → Download ZIP). Open it and check it has the
artwork,biblio,disc… folders. - In the Docker app, stop the application and delete it. Your menu folders, artwork and progress are stored separately and are kept.
- In the NAS file manager, delete the
biblioteca-chinoppo-public-mainfolder, upload the new ZIP straight into your apps folder (not inside another folder) and extract it there. - Create the application again as in step 6 and fill in your details on the
<--lines again.
Important: some Docker apps (like Container Manager) keep their own copy of compose.yaml once you edit it on their screen, and don't update it when you upload new files. That's why you delete and recreate the application instead of just restarting it.
The USB stick stays as it is, unless the NAS or Chinoppo IP changes or the new version says so.
If something doesn’t work
- The Biblioteca doesn’t open by itself at power-on
- Check that
Biblioteca.isoand theAutoScriptfolder are at the root of the stick, and that the Chinoppo has the jailbroken firmware. If anautoscript_ok.txtfile shows up on the stick, the start-up script did run. - It says “Activa BD-Live”
- Step 1 is missing: Setup → Network → BD-Live Network Access = On.
- It says “Sin conexion con el servidor” (no connection to the server)
- The NAS is off, the application is stopped in the Docker app, or the NAS IP changed. If it changed, fix the compose and download the USB files again (step 8).
- It says “Disco sin servidor” (disc without a server)
- The
Biblioteca.isoon the stick did not come from the page’s button. Download it from there (step 8). - A movie says “No se pudo reproducir” (could not play)
- Almost always the NFS permission (step 3) or the
NFS_FOLDERvalue in step 6. Openhttp://NAS-IP:8095/logto see what happened. - A movie has the wrong poster
- Open
http://NAS-IP:8095/matchand fix it.
Good to know
- The first movie of each folder takes about 40 seconds
- The Chinoppo has to “connect” to the folder before playing, and can only have one connected at a time. Within the same folder, the next movies start quickly.
- Switching off mid-movie
- The Chinoppo’s standby is a real power-off. When you switch it on again, the Biblioteca opens by itself.
- One “play” at a time
- If you press OK several times in a row, the program ignores the repeats so the Chinoppo doesn’t lock up.
Extra: Artwork Studio (cases, banners and discs)
It installs by itself with the Biblioteca, in the same step 6. Open it at http://NAS-IP:3001, or from the Abrir Artwork Studio link on the :8095 page. There you pick, title by title:
- A poster from TMDb or your own from the PC, with a format banner (e.g. “UHDBD with DV and Atmos”) shown on the wall. It suggests the banner from the format the Biblioteca detected.
- A case: black 4K or blue Blu-ray. With a case, the disc slides out of the box on the movie page.
- A backdrop, logo and disc (discs come from fanart.tv and need the free fanart.tv key in
FANART_API_KEYin the compose). - TV show seasons and metadata (to fix a wrongly matched movie).
Step-by-step Artwork Studio guide, with screenshots: artwork-en.html.
Pick in the tabs, then press Aplicar Cambios (apply changes) to apply everything at once. Check the result in the Vista previa (preview) of the :8095 page without switching the Chinoppo on.
Extra: Dolby Vision in MKV files
Out of the box, the Chinoppo plays Dolby Vision MKVs as plain HDR10. The oppo-dv-mkv patch by fandangos (github.com/fandangos/oppo-dv-mkv) makes the TV or projector receive real Dolby Vision (profiles 5, 7 and 8) and also improves subtitles. It is independent of the Biblioteca.
At your own risk. It changes how the player boots. Read the project’s README first. In the factory menu, never press “Fmt buda” or “Fmt apda”.
- From the project’s Releases, download the
mkv-subtitleszip of the latest version (we used v1.7.1). - Use a different FAT32 USB stick (not the Biblioteca one). Copy the zip’s contents to its root.
- Switch the Chinoppo off, remove the Biblioteca stick, plug the patch stick into the rear USB port and switch on.
- Wait 30 seconds with the home menu on screen, switch off and remove the stick. On the PC,
oppo-dv-mkv-result.txtmust sayINSTALLED. - Put the Biblioteca stick back and switch on.
Set Dolby Vision on the TV or projector to TV-led mode. Note: MKVs from 4K discs that carry the Dolby Vision enhancement as a second video track (as MakeMKV leaves them) play as HDR10. Blu-ray ISOs or BDMV folders always play in Dolby Vision.
Equipment we tested with
| Equipment | Role |
|---|---|
| Chinoppo M9201 | Player, RU 65-0131 firmware, with the Dolby Vision patch v1.7.1. |
| NAS Synology DS423+ (DSM 7.3) | Stores the movies and shares them over NFS. |
| Linux server with Docker | Where the program runs in our home (see “Advanced”). |
| Kingston DataTraveler | The Biblioteca USB stick. |
| Denon AVC-X3800H | A/V receiver for Atmos, TrueHD and DTS:X (through the Chinoppo’s audio HDMI). |
| Hisense PX3 Pro | Projector. It only provides the picture; any TV or projector works. |
Advanced
Run the program on a Linux PC or server instead of the NAS
If your NAS can’t run Docker, use an always-on Linux PC or mini PC. Mount the NAS folder on it over NFS, download the project and edit compose.yaml as in step 6, changing the volume line to where you mounted it:
curl -fsSL https://get.docker.com | sh
# /etc/fstab:  NAS-IP:/volume1/Plex  /mnt/nas/media  nfs  ro,defaults  0 0
sudo mount -a
git clone https://github.com/ophielsamael/biblioteca-chinoppo-public.git
cd biblioteca-chinoppo-public
nano compose.yaml        # your details, and the volume:  /mnt/nas/media:/media/Plex:ro
docker compose up -d --build
The page is then at http://SERVER-IP:8095 and the USB ZIP points at that server.
Build the disc yourself
Not needed: the disc ships ready in static/usb/Biblioteca.iso and the program writes the address into it. To change the disc’s code: install bdj-sdk in WSL Ubuntu (~/bdj/bdj-sdk) and run bash disc/build.sh; copy disc/out/Biblioteca.iso to static/usb/.
SSH into the Chinoppo and a dark home-menu bar
tools/autoscript/AutoScript/ssh has an SSH server (key-only) that runs from the USB stick, and tools/tema has the dark home-menu bar. They are for people comfortable with a terminal; read the comments in each script.